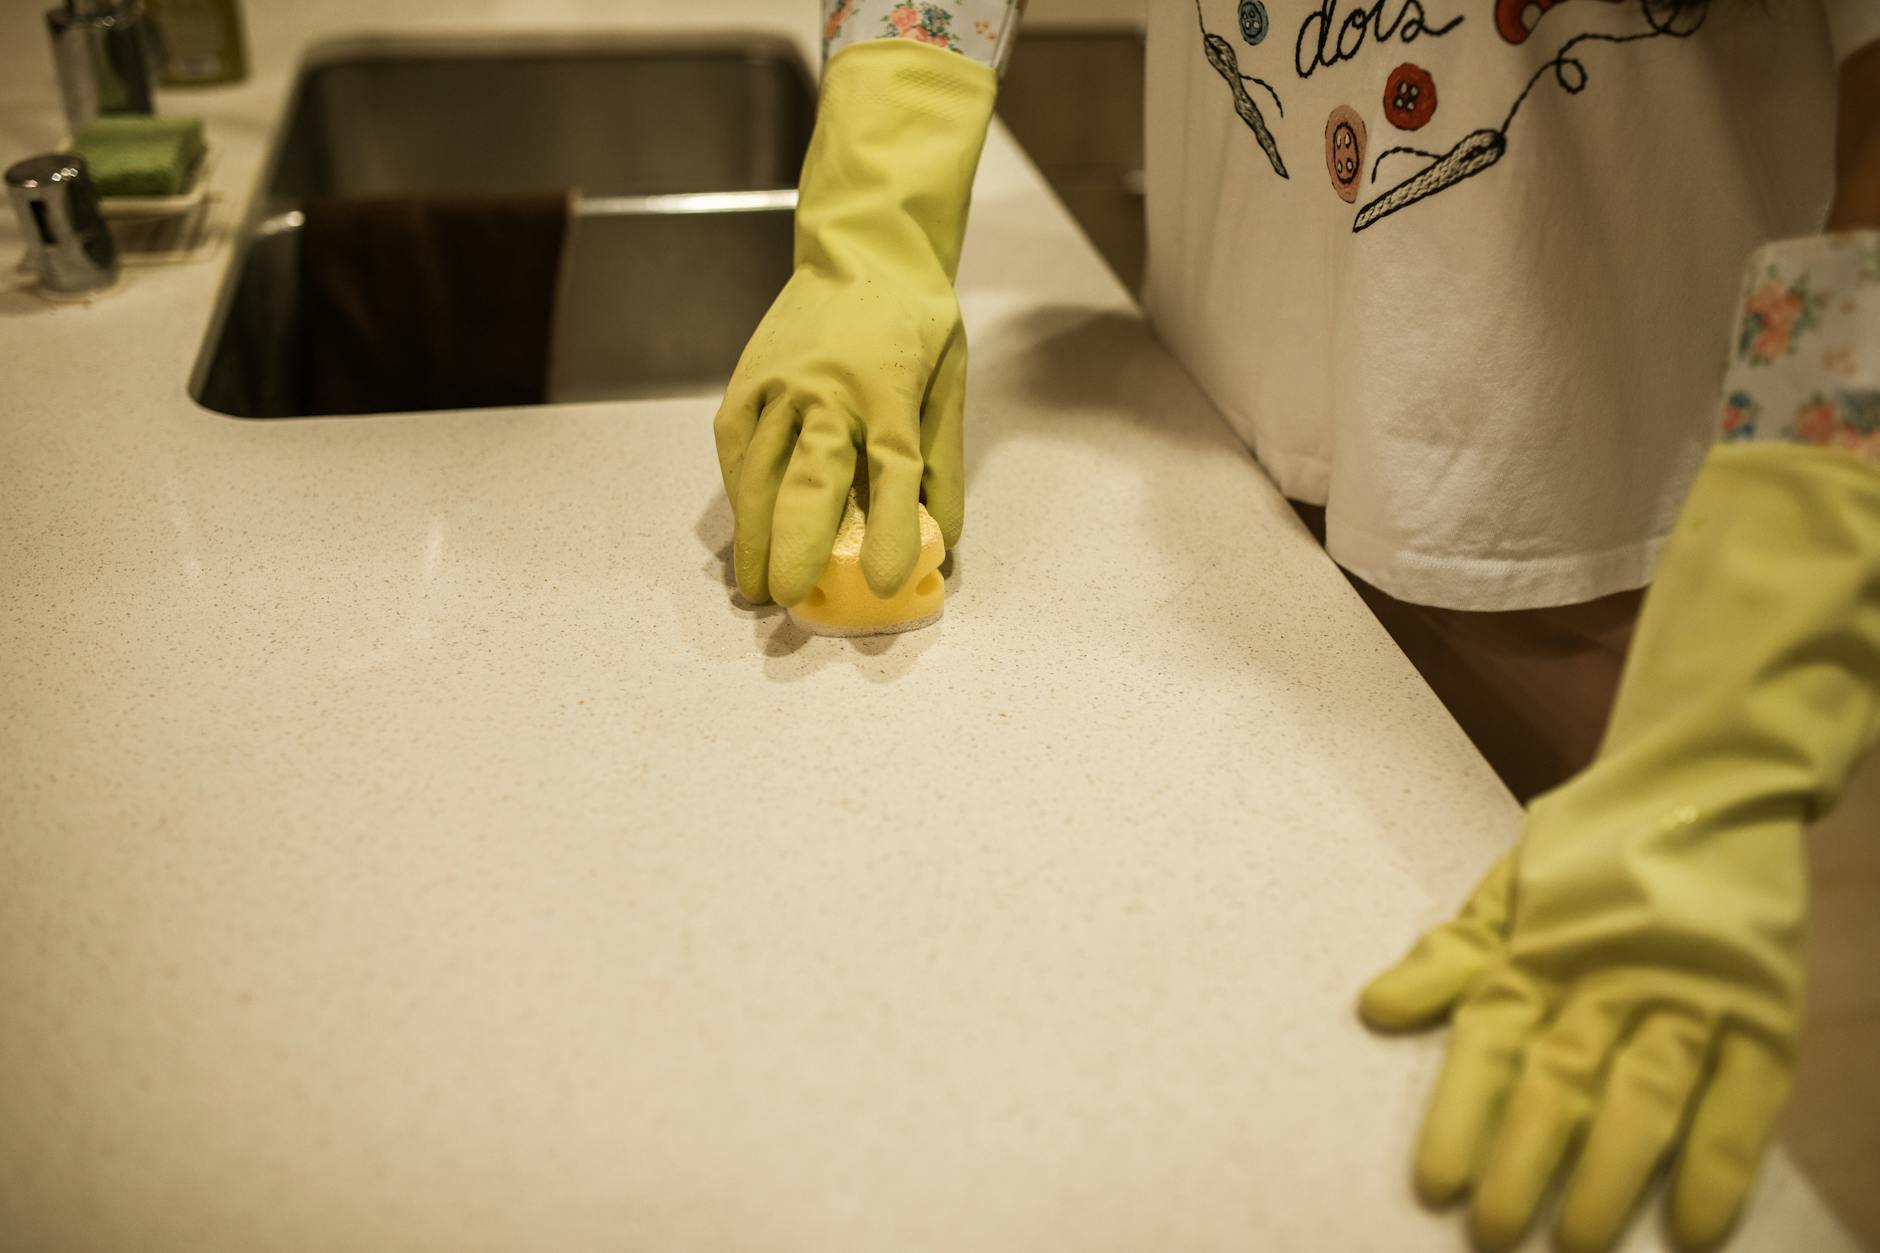
You clean a kitchen faster by working from top to bottom and from dry to wet: clear trash and dishes first, then wipe surfaces high to low, then do the sink, then the floor last. Most of the time people lose in a kitchen comes from doing things in the wrong order, such as wiping a counter before the dirty dishes are moved off it, or mopping before crumbs have fallen from the counter edge.
A full kitchen reset in a normal home usually takes about 20 to 30 minutes once you stop backtracking. The sections below give you the order, a cleaner for each type of soil, and the small habits that keep grease and sticky residue from turning into a weekend project.
Clear first, clean second
Cleaning around objects is slow. Before you pick up a cloth, remove everything that does not belong on the surface.
- Trash and recycling. Pull the bag if it is nearly full and take it out, so you are not stepping around it.
- Dishes. Load the dishwasher or stack hand-wash items in the sink. Cups and bowls first, then plates, then pots.
- Food and condiments. Put away anything that belongs in the fridge or pantry. Toss expired items as you go.
- Stray items. Mail, chargers, and shoes go into one basket to be sorted later, not now.
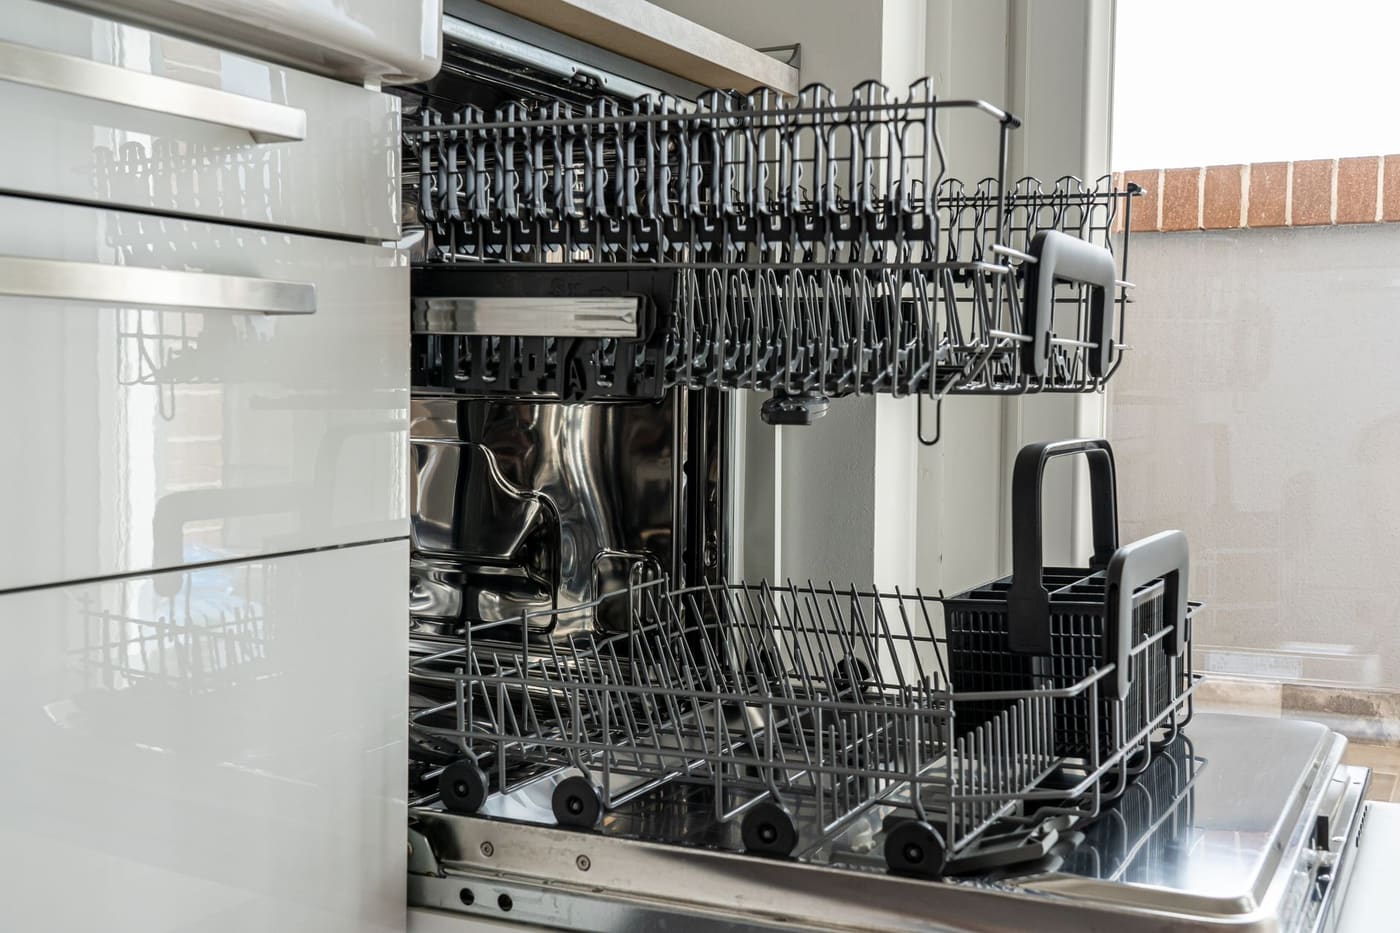
This stage takes roughly 5 to 8 minutes. Once the counters are empty, every later step is just wiping. If you keep ending up with a counter covered in items that have no home, the real fix is storage, and the guide to organizing a home so it stays easier to clean covers that.
Work top to bottom and dry to wet
Gravity moves crumbs, dust, and drips downward. If you wipe the floor first and the cabinet fronts last, you drop debris onto a clean floor.
A reliable order:
- Dry pass: Sweep crumbs off the counter into your hand or a bowl, shake out stove-top grates, and brush debris off the cutting board.
- Spray and wait: Spray cleaner on the stovetop, the backsplash behind it, and any sticky counter spots, then leave it to sit while you do other work.
- Wipe top to bottom: Cabinet fronts and handles, backsplash, counters, then appliance fronts.
- Sink: Clean it after the counters, since the sink collects everything you rinse off.
- Floor: Sweep or vacuum, then mop only if there are sticky patches.
The spray-and-wait step is where much of the speed comes from. A cleaner needs contact time to loosen soil, and spraying then wiping at once mostly pushes grime around, which is why people end up scrubbing harder. Check the label for how long a product should sit. For plain soapy water or a general spray, a few minutes is typical. Disinfectants are different: they must stay wet on the surface for the contact time printed on the label, so follow that exactly.
Match the cleaner to the type of mess
Using one product for everything leads to extra scrubbing. Kitchen soil falls into a few categories, and each responds to a different approach.
| Mess | What works | Notes |
|---|---|---|
| Fresh grease, cooking splatter | Warm water and dish soap, or a degreasing spray | Detergents and alkaline cleaners cut fats; mild acids do not |
| Sticky residue, dried food | Dish soap on a damp cloth, a few minutes to soften | A plastic scraper lifts crust without scratching |
| Hard-water spots on faucets | Diluted white vinegar on a cloth | Not for natural stone counters |
| Burnt-on stovetop residue | Baking soda paste left for 15 to 20 minutes | Rinse well afterward |
| Stainless steel smudges | Damp microfiber, then dry along the grain | Check the maker’s care advice for polish |
| Sink drain odor | Hot water flush, then baking soda and a rinse | Do not combine with other chemicals |
Vinegar can dull or etch natural stone such as granite and marble, so use a stone-safe cleaner or mild dish soap on those counters. The next point matters more than any technique in this article: never mix bleach with vinegar, ammonia, or other cleaners. The CDC says to never mix bleach with ammonia or any other cleaner, because the combinations release toxic gases. Use one product at a time, rinse between products, open a window or run the vent fan, and wear rubber gloves with a degreaser or anything stronger than dish soap.
Deal with grease before it turns sticky
Grease is the main reason kitchens feel dirty even when the counters look fine. Cooking puts a fine film of oil into the air, and it settles on the stovetop, backsplash, range hood, and cabinet doors near the stove. A fresh film wipes off with warm soapy water. A film that sits for weeks collects dust and hardens into a tacky layer that takes real effort to remove.
The stovetop
Wipe the stove surface after cooking once it has cooled. This takes about a minute and prevents baked-on residue. For models with removable grates and drip pans, soak them in hot water with dish soap for 20 to 30 minutes now and then, and finish with a nonscratch pad. Check your manual before putting any stove part in the dishwasher.
Range hood and filter
A metal mesh filter above the stove collects grease. Many can go in the dishwasher or soak in a sink of very hot water with dish soap, but check your manual. How often depends on how much you fry or sear; once every month or two is a common rhythm for a busy cook. If the hood vents outdoors, run it whenever you cook on high heat. Switch the unit off before cleaning near its fan or wiring, and leave electrical parts alone.
Cabinet fronts and handles
Handles collect more oil from hands than almost any other kitchen surface. Wipe them with a damp cloth and a drop of dish soap during your weekly pass. Wipe wood cabinets with a barely damp cloth and dry them right away, since soaking can damage the finish.
Keep the sink and cloths from becoming the problem
A sink full of dishes slows everything. The simplest speed fix is to wash in the same stretch as cooking: clean pans while the food rests, and rinse plates the moment you clear the table. A rinsed plate wipes clean in seconds, while egg or cheese that has dried on needs soaking and scrubbing.
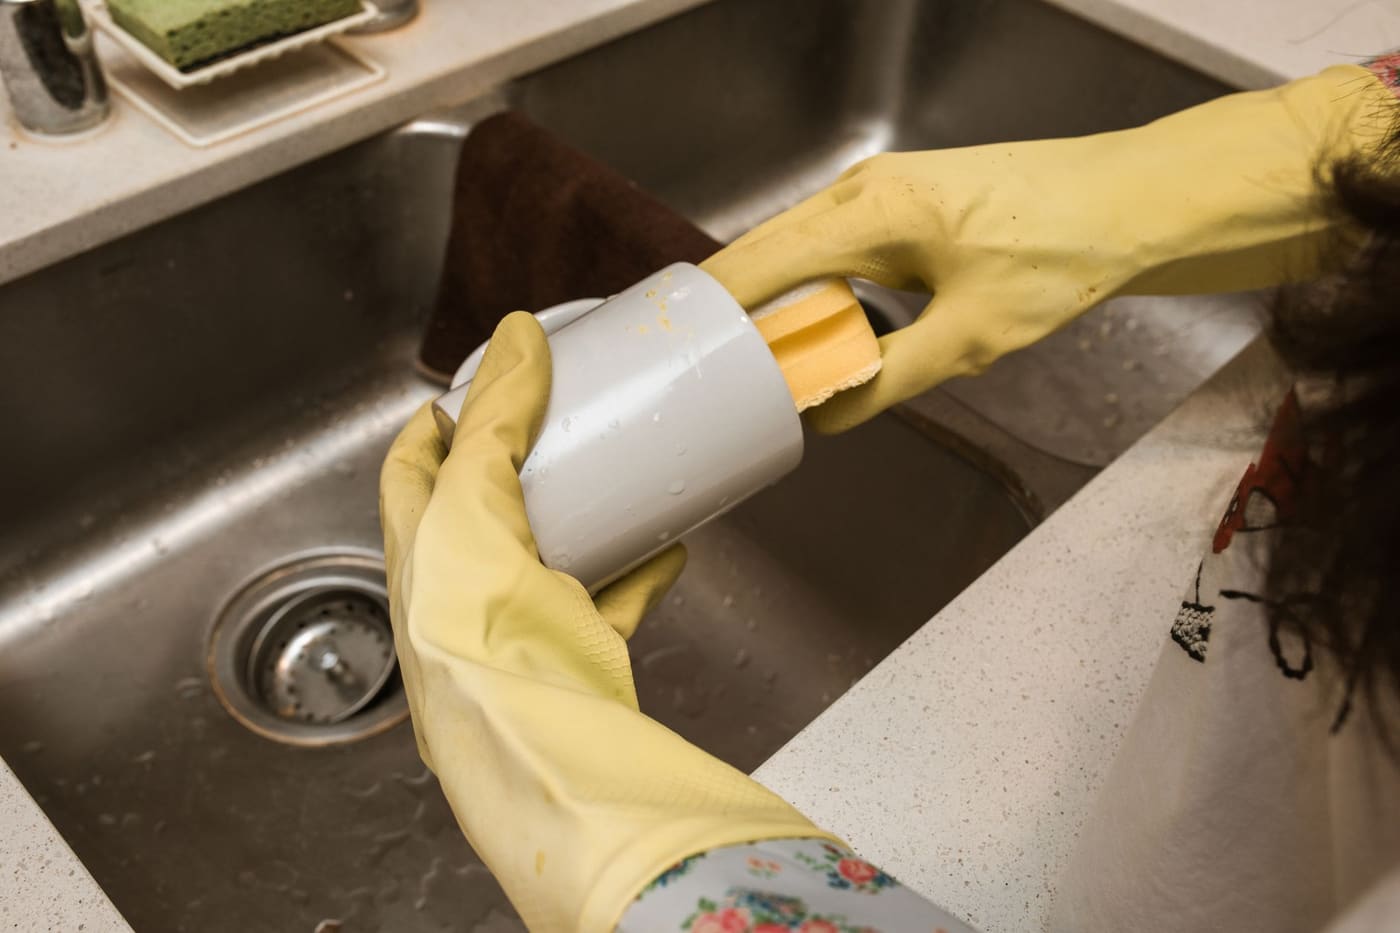
For the sink itself:
- Stainless steel: Scrub with dish soap and a nonscratch sponge, rinse, and dry. Drying prevents water spots.
- Porcelain or enamel: Use a nonabrasive cleaner or baking soda paste, and be cautious with long bleach soaks on older finishes.
- Disposal: Run cold water and a few ice cubes or citrus peels now and then to freshen it. Never put your hand in a disposal, and make sure it is off before removing anything stuck.
- Sponges and cloths: Wet sponges stay damp and hold food residue, so replace them when they smell or start to break down, and launder dishcloths often on a hot cycle.
Use separate cloths for different jobs: one for counters, one for the stovetop, and another for the floor or spills near the trash. Microfiber cloths are cheap, machine washable, and pick up fine particles well. Many makers advise skipping fabric softener when washing them, since it can coat the fibers.
Small habits that cut cleaning time later
The fastest kitchen clean is the one where the mess never got large. These habits cost a few minutes a day.
- Wipe as you cook. Keep a damp cloth near the stove and clean spills when they are fresh.
- Do a 5-minute close-down after dinner. Dishes in, counters wiped, stove wiped, sink empty, trash checked.
- Empty the dishwasher in the morning, so dirty dishes have somewhere to go during the day.
- Keep cleaning supplies at the point of use. A spray bottle and cloth under the sink means you will use them. A bottle in a hall closet will not get used.
- Clear one fridge shelf a week, ideally right before trash day.
A weekly rhythm covers most of what is left: wipe cabinet fronts and handles, clean the microwave interior (heat a bowl of water for a few minutes to loosen splatter, let it sit a minute with the door closed, then wipe), and mop. Larger jobs such as the oven interior, fridge deep clean, and range hood filter fit better in a monthly plan, which the breakdown of weekly versus monthly cleaning in a busy home lays out.
When you are short on time
If you only have a few minutes, do the highest-impact items in this order: dishes into the dishwasher, counters cleared and wiped, stovetop wiped, trash out, and a quick sweep of the walking path. For other rooms, the same logic applies in the guide to what to clean when you only have 20 minutes. For ongoing maintenance, the habits in keeping a home cleaner without spending all day cleaning apply to the kitchen as much as any other room, because that is where small messes compound fastest.
Kitchen safety notes
Most kitchen cleaning is low risk, but a few points are worth following:
- Turn off the stove and let burners cool before cleaning them. Do not spray liquid into control knobs or outlets.
- Use oven cleaner only with ventilation and gloves, and follow the label. Many are caustic. A self-cleaning oven cycle runs very hot and can give off fumes that are harmful to pet birds, so check the manual and keep birds in another room with the door closed.
- Keep cleaners in their original containers, away from children and pets.
- If you smell gas near the stove, do not clean. Leave the house and call your gas utility or emergency services from outside.
Before you combine any products, check the pair with the cleaner mixing checker.
Where this comes from
This guide is based on the Centers for Disease Control and Prevention’s guidance on household bleach and cleaning product safety, general product-label practice for contact time and ventilation, and the care advice that appliance and surface makers publish in their manuals. The ordering advice is common cleaning practice rather than the result of a study. Prices, product formulas and appliance instructions change, so check the label and your manual for current directions.